October 17, 2022
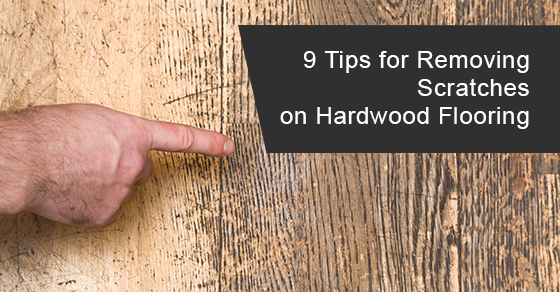
9 Tips for Removing Scratches on Hardwood Flooring
Unsightly scratches on your hardwood flooring can be remedied easier than you would think. With some tips and tricks listed below, you can repair and often eliminate a variety of imperfections.
Before embarking on your restoration project it is important to start by knowing the kind of finish your floor has. The restoration remedies depend on whether your finish is oil or water-based. You need to determine if the floor has a wax coating, is varnished, stained or has an aluminum oxide finish.
Have an understanding of what the surface is made of so you know how to start your wood floor scratch repair. If you didn’t install the floor and aren’t sure what type of finish it has, you can identify more details here. The beauty and appeal of hardwood flooring can be quickly ruined by scratches. To remove scratches, sanding and refinishing are not your only options. Here are some ways to address the various degrees of damage.
1. Clean the area
Surface scratches are those that only affect the finish of the floor. So start by cleaning the entire area around the surface scratch. You will want to remove all traces of dust and grime on the floor before you begin any other steps. Pay close attention to the inside of the crack itself, which should be free of dirt, if possible. If you have a wax layer, use a wax remover solution to clear away the wax before you begin the repair.
2. Small scratch solutions
Prominent dog claw marks, a gouge from furniture legs, and hairline scratches can stand out against otherwise flawless wood. Try a DIY home solution first. Mix equal parts apple cider vinegar and olive oil in a small cup, and dab the mixture into the scratch. Leave it for the rest of the day, and rub it out. This method often takes care of minor scratches. This trick for fixing scratched hardwood floors without sanding can make a huge difference. And it is so easy and inexpensive (compared to refinishing).
3. Light scratches – using a blending pencil
Blending pencils are specifically designed to fill in wood scratches that appear as lighter marks on the floor. Pick the correct colour for your floors, and apply this often-successful treatment. If you have any hardwood floors that require touching up, try the DAP Blend Sticks and Paste Wax. Remember to only use the Paste Wax if your floors have a subtle sheen finish.
4. Medium scratches – using a finishing restorer
Finish restorers are designed to help treat faded finishes or light scratches across a wide area of your hardwood floors. These restorers can be effective in treating minor scuffs, especially if the wood itself has not been damaged.
5. Medium scratches – a new finish
If you have medium scratches that show only slight damage, you can apply a new coat of finish to the area without having to refinish the entire floor area. Make sure the finish colour matches the original as closely as possible.
If the wood was stained but has no finish, you may be able to get similar wood floor scratch repair results by re-applying the stain to help hide the scratch.
6. Multiple scratches – sand and finish
If your floor has extensive scratches throughout, your best option is to sand down the floor and refinish it. A complete sanding will remove the scratches, however this only works on real wood floors, not bamboo.
If you have an engineered wood floor with a real wood surface, make sure the real wood surface is more than 1mm thick. Generally sanding will take at least this much wood off of the surface.
7. Large scratches and gouges
Repairing deep scratches and gouges on a wood floor takes will take much more work and precision. If the scratches in your wood floor are more like gouges, your first step should be to use a wood filler to fill in the gaps before applying stain and finish. Here’s a guide on how to properly use wood filler.
8. Heavy damage
If your floorboards are showing signs of heavy damage, they may have discoloured spots and ridges. The best solution for this is to sand these down to create an even surface of the floor and avoid headaches in the future.
Here’s how to sand down your floor. The use of an electric floor sander will remove many of those scratches, but it is messy and invasive. The top layer of hardwood veneer on engineered wood floors is so thin that deep sanding is often not possible.
To reduce the contrast between the scratches and the rest of the flooring, repairs without deep sanding use a selective toolkit of techniques that fade, blend, and colour the scratches. The process of isolating and repairing scratches in hardwood flooring is also a simpler, lower-cost alternative to sanding the entire floor, and it will prolong the lifespan of your hardwood flooring.
9. Severe Damage
For major wood floor scratch repair, you may have to rent a floor sander. But for more localized scratches, the preferred technique is still to fill in and colour-blend the deeper scratch, using wood filler.
If the damage to your floor is severe, you may need to replace the damaged floorboards entirely. If you can’t find matching floorboards, you can at the very least patch the affected area.
For all of your floor repair needs take full advantage of our flooring expert’s wealth of knowledge by asking the questions needed to complete your project right the first time. Contact a Cosmaroma expert today.